Guidelines for Nurses
How to use Ezyvax for a Clinic
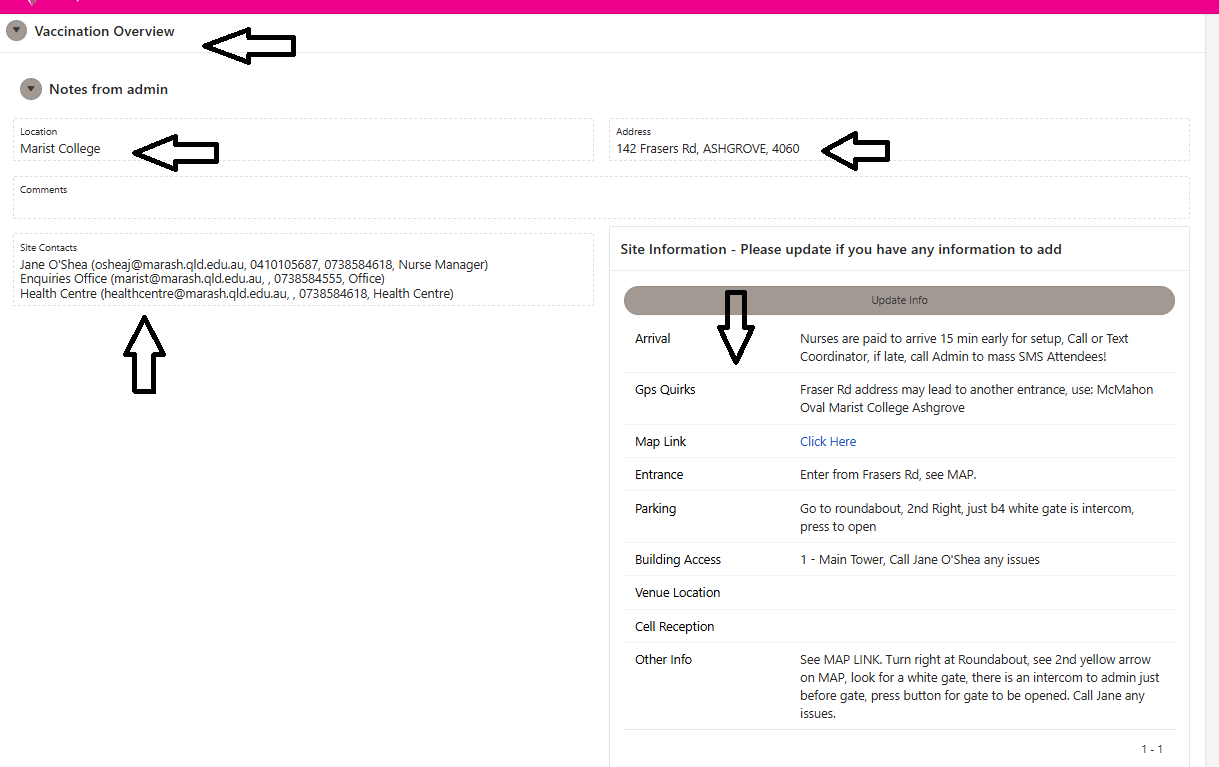
Before You Go: View Site Information
The day before the clinic, log into Ezyvax to view your upcoming jobs. Click to open a job, the top of the page displays the Vaccination Overview. This contains the location, contact person, and info we have on file. job’s Site info. At times there may be sufficient info for driving directions, at times not, it depends whether the Client supplied the info requested.
Nurses will receive an SMS, 24 hours before the clinic, detailing the Coordinator’s Phone Number, Entrance and Parking shown in the Vaccination Overview. This ensures the details are on your phone with the press of a button.
Before You Go: The Pre-Clinic Call
If sufficient info is not available, call the workplace to introduce yourself. This prevents 90% of common on-site headaches. Check for:
• Entrance Gate & Parking: Which entrance should you use and where should you park? Select the Update Info Button to update with the latest info.
• Cell Coverage and / or Wi-Fi Quality: Is the signal strong in the specific room you’ll be using? Nurses will mostly use their own service provider’s cell coverage to hotspot, if there is good quality coverage in the venue, else you will need workplace Wi-Fi as contingency
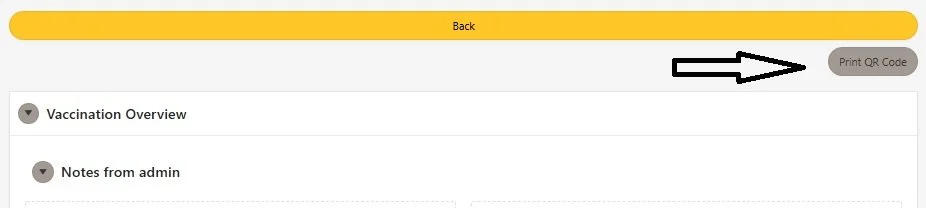
• The QR Code: Ask them to print their Walk-In QR Code (found via the top-right button on your screen). If they don't have it, email it to them immediately, or ask Admin to send it, this helps you with Walk-ins on the day without bookings.
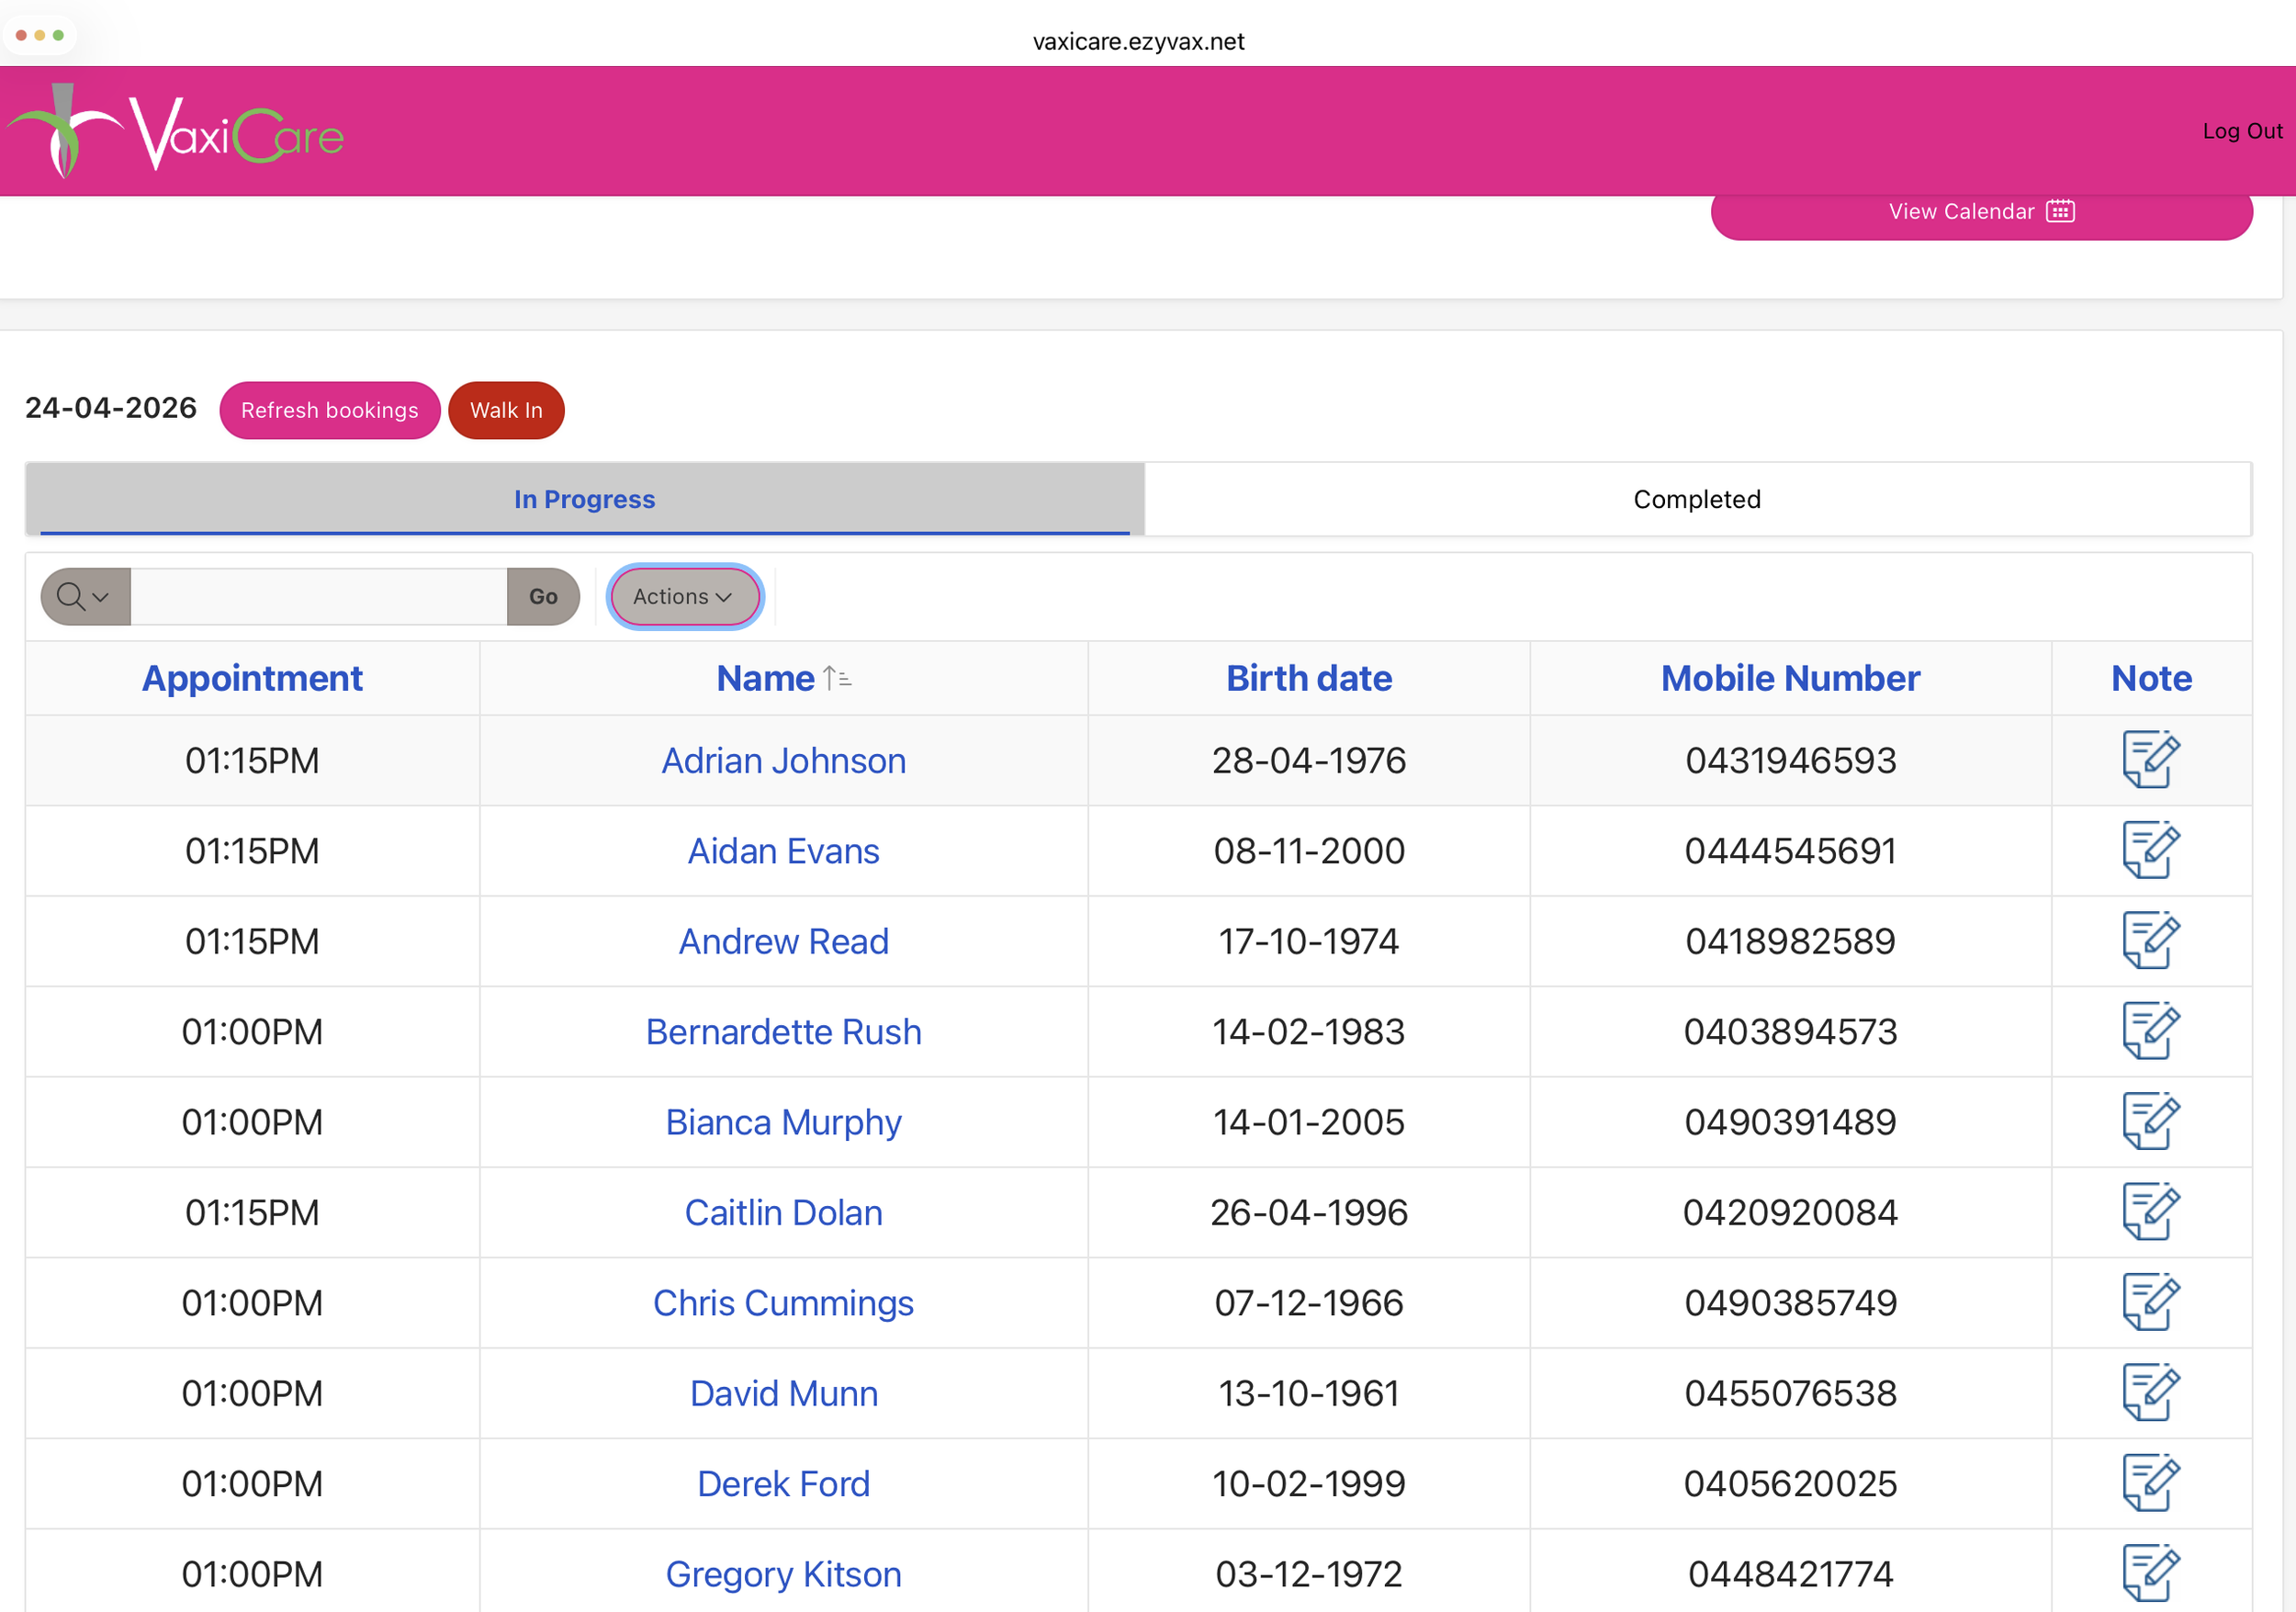
At the Clinic: Finding Your Patients
There are two main lists, displayed as 2 TABS.
IN PROGRESS: This is your To-Do list. Always check that you are on this tab to find Attendees who have not been vaccinated.
COMPLETED: Once you finish a vaccination, the name moves here.
Tip: The system sometimes defaults to the Completed tab. If you can’t find a patient, double-check that you IN PROGRESS.
Sorting the List alphabetically
By default, names are listed by appointment time. To find people faster:
1. Tap the heading Name at the top of the column.
2. Tap the Up Arrow Icon to sort the list alphabetically by first name.
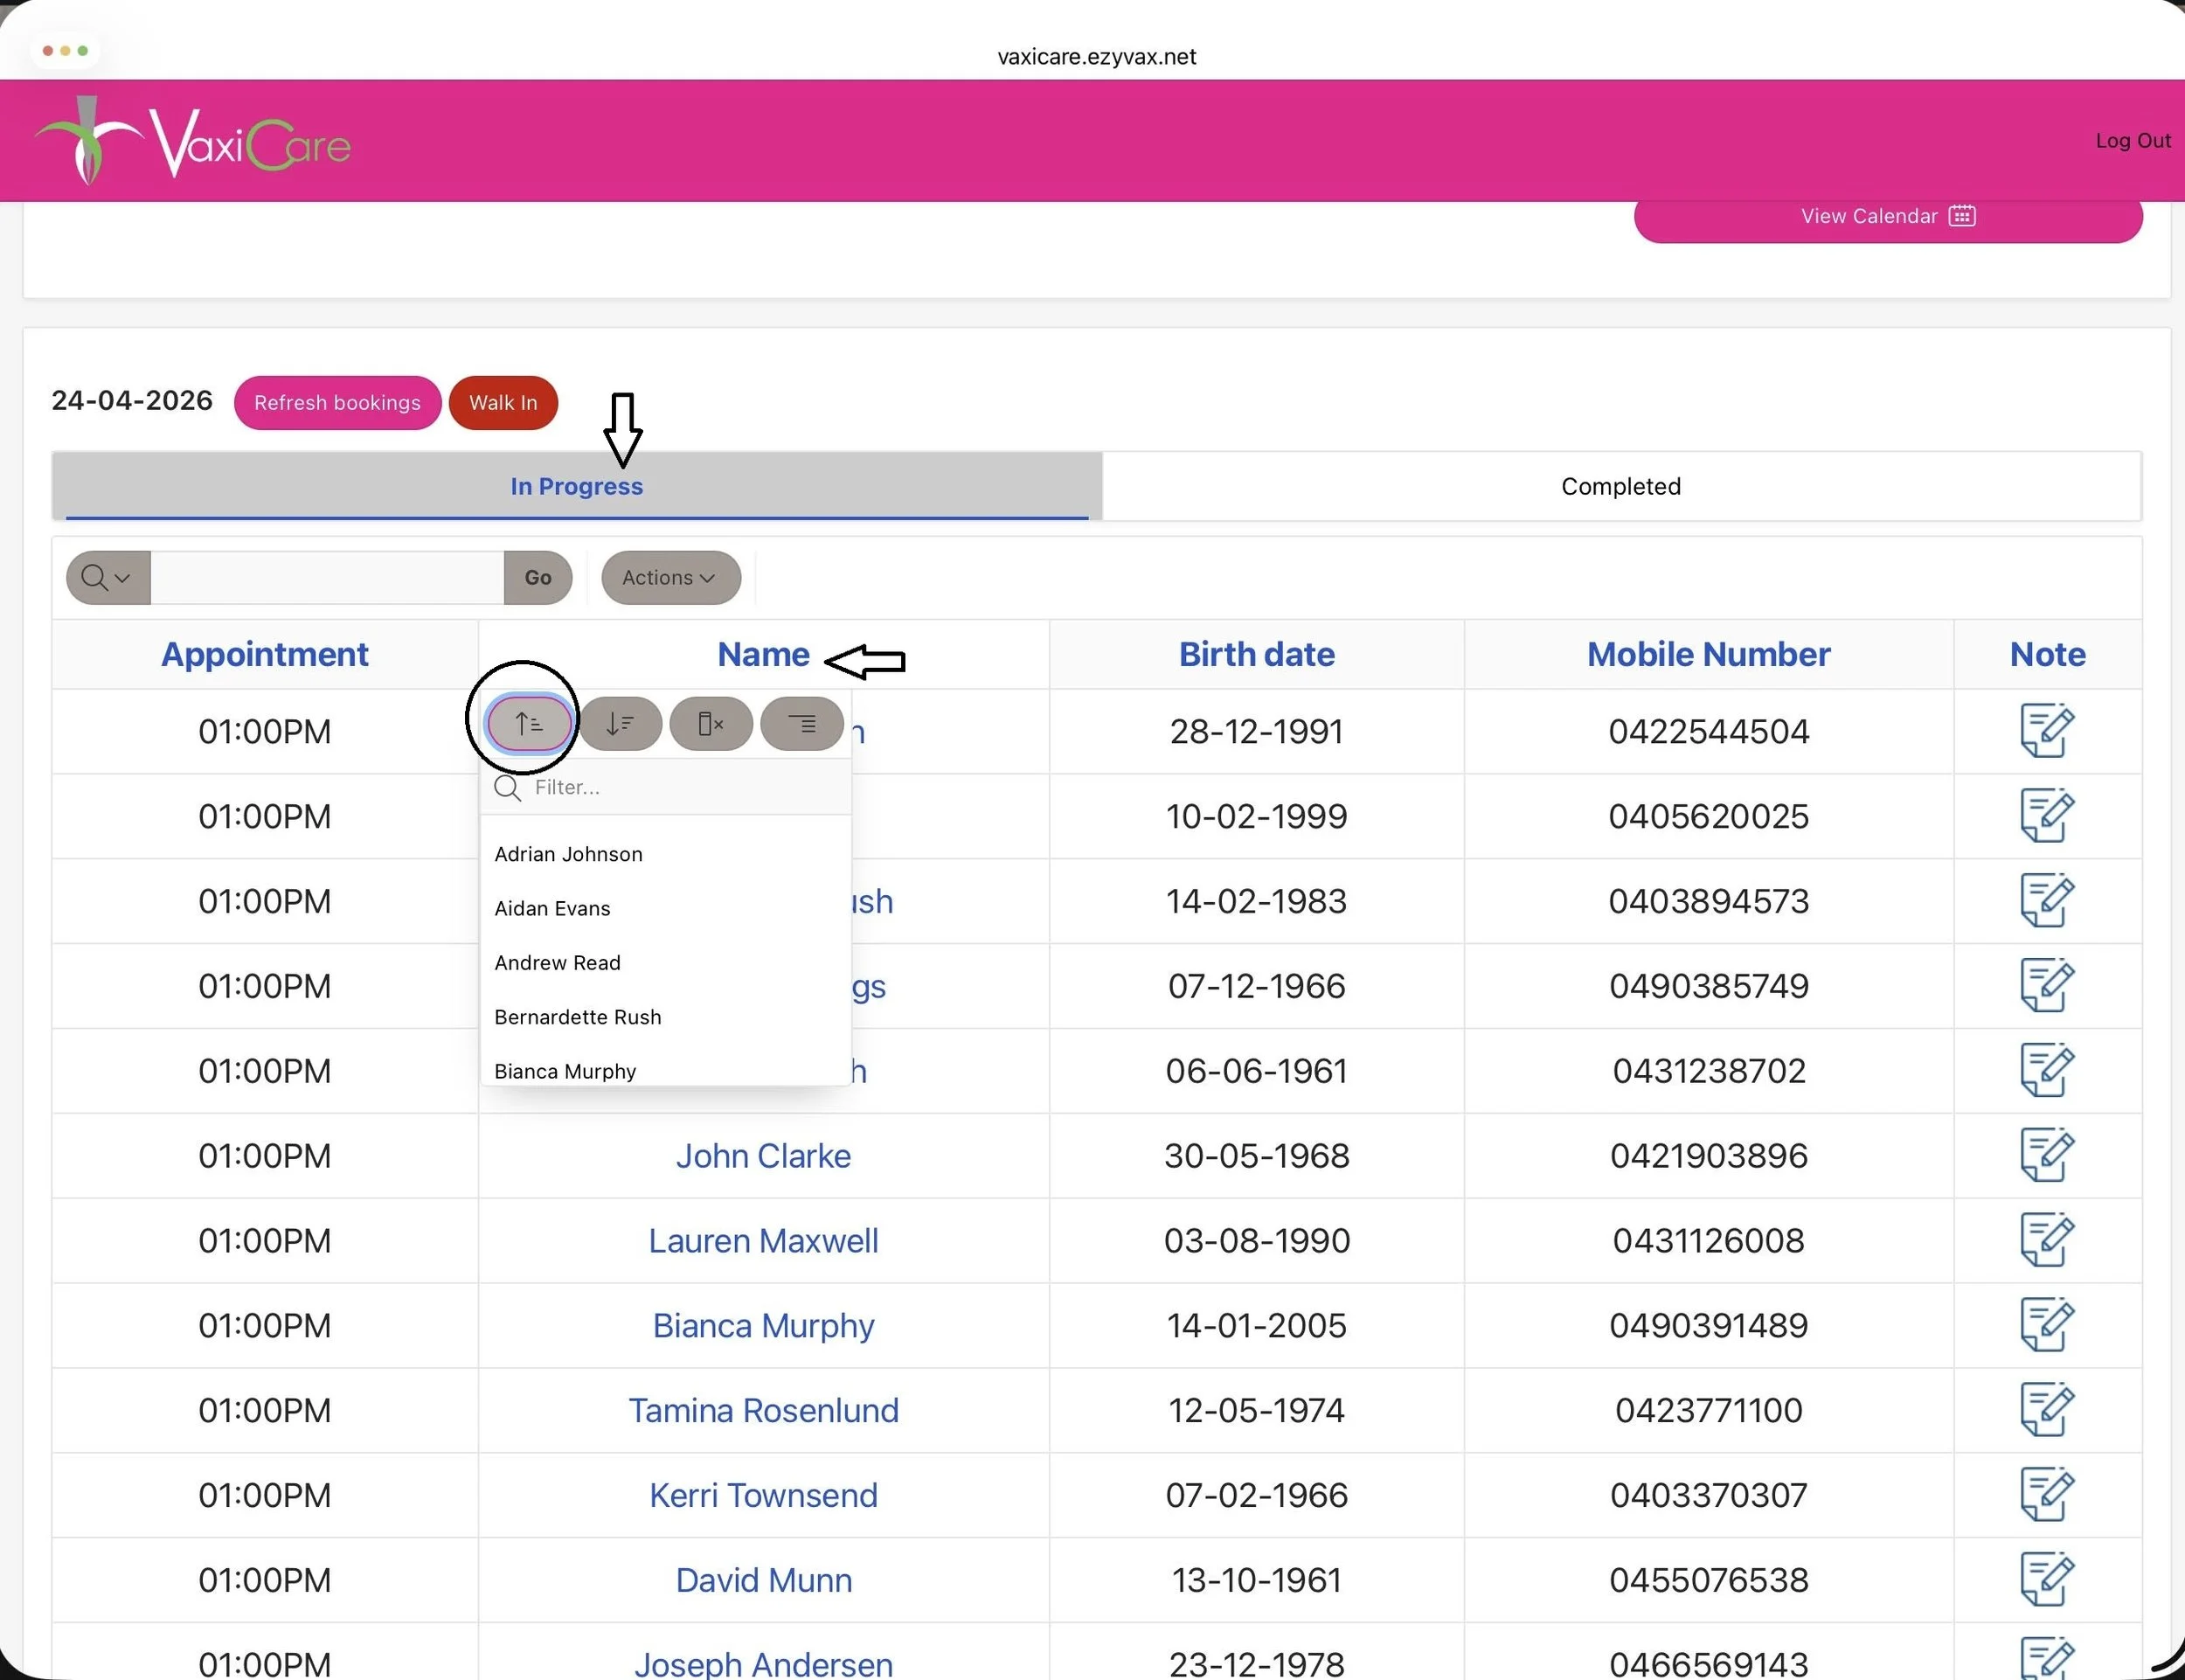
The Result, names in alphabetical order:
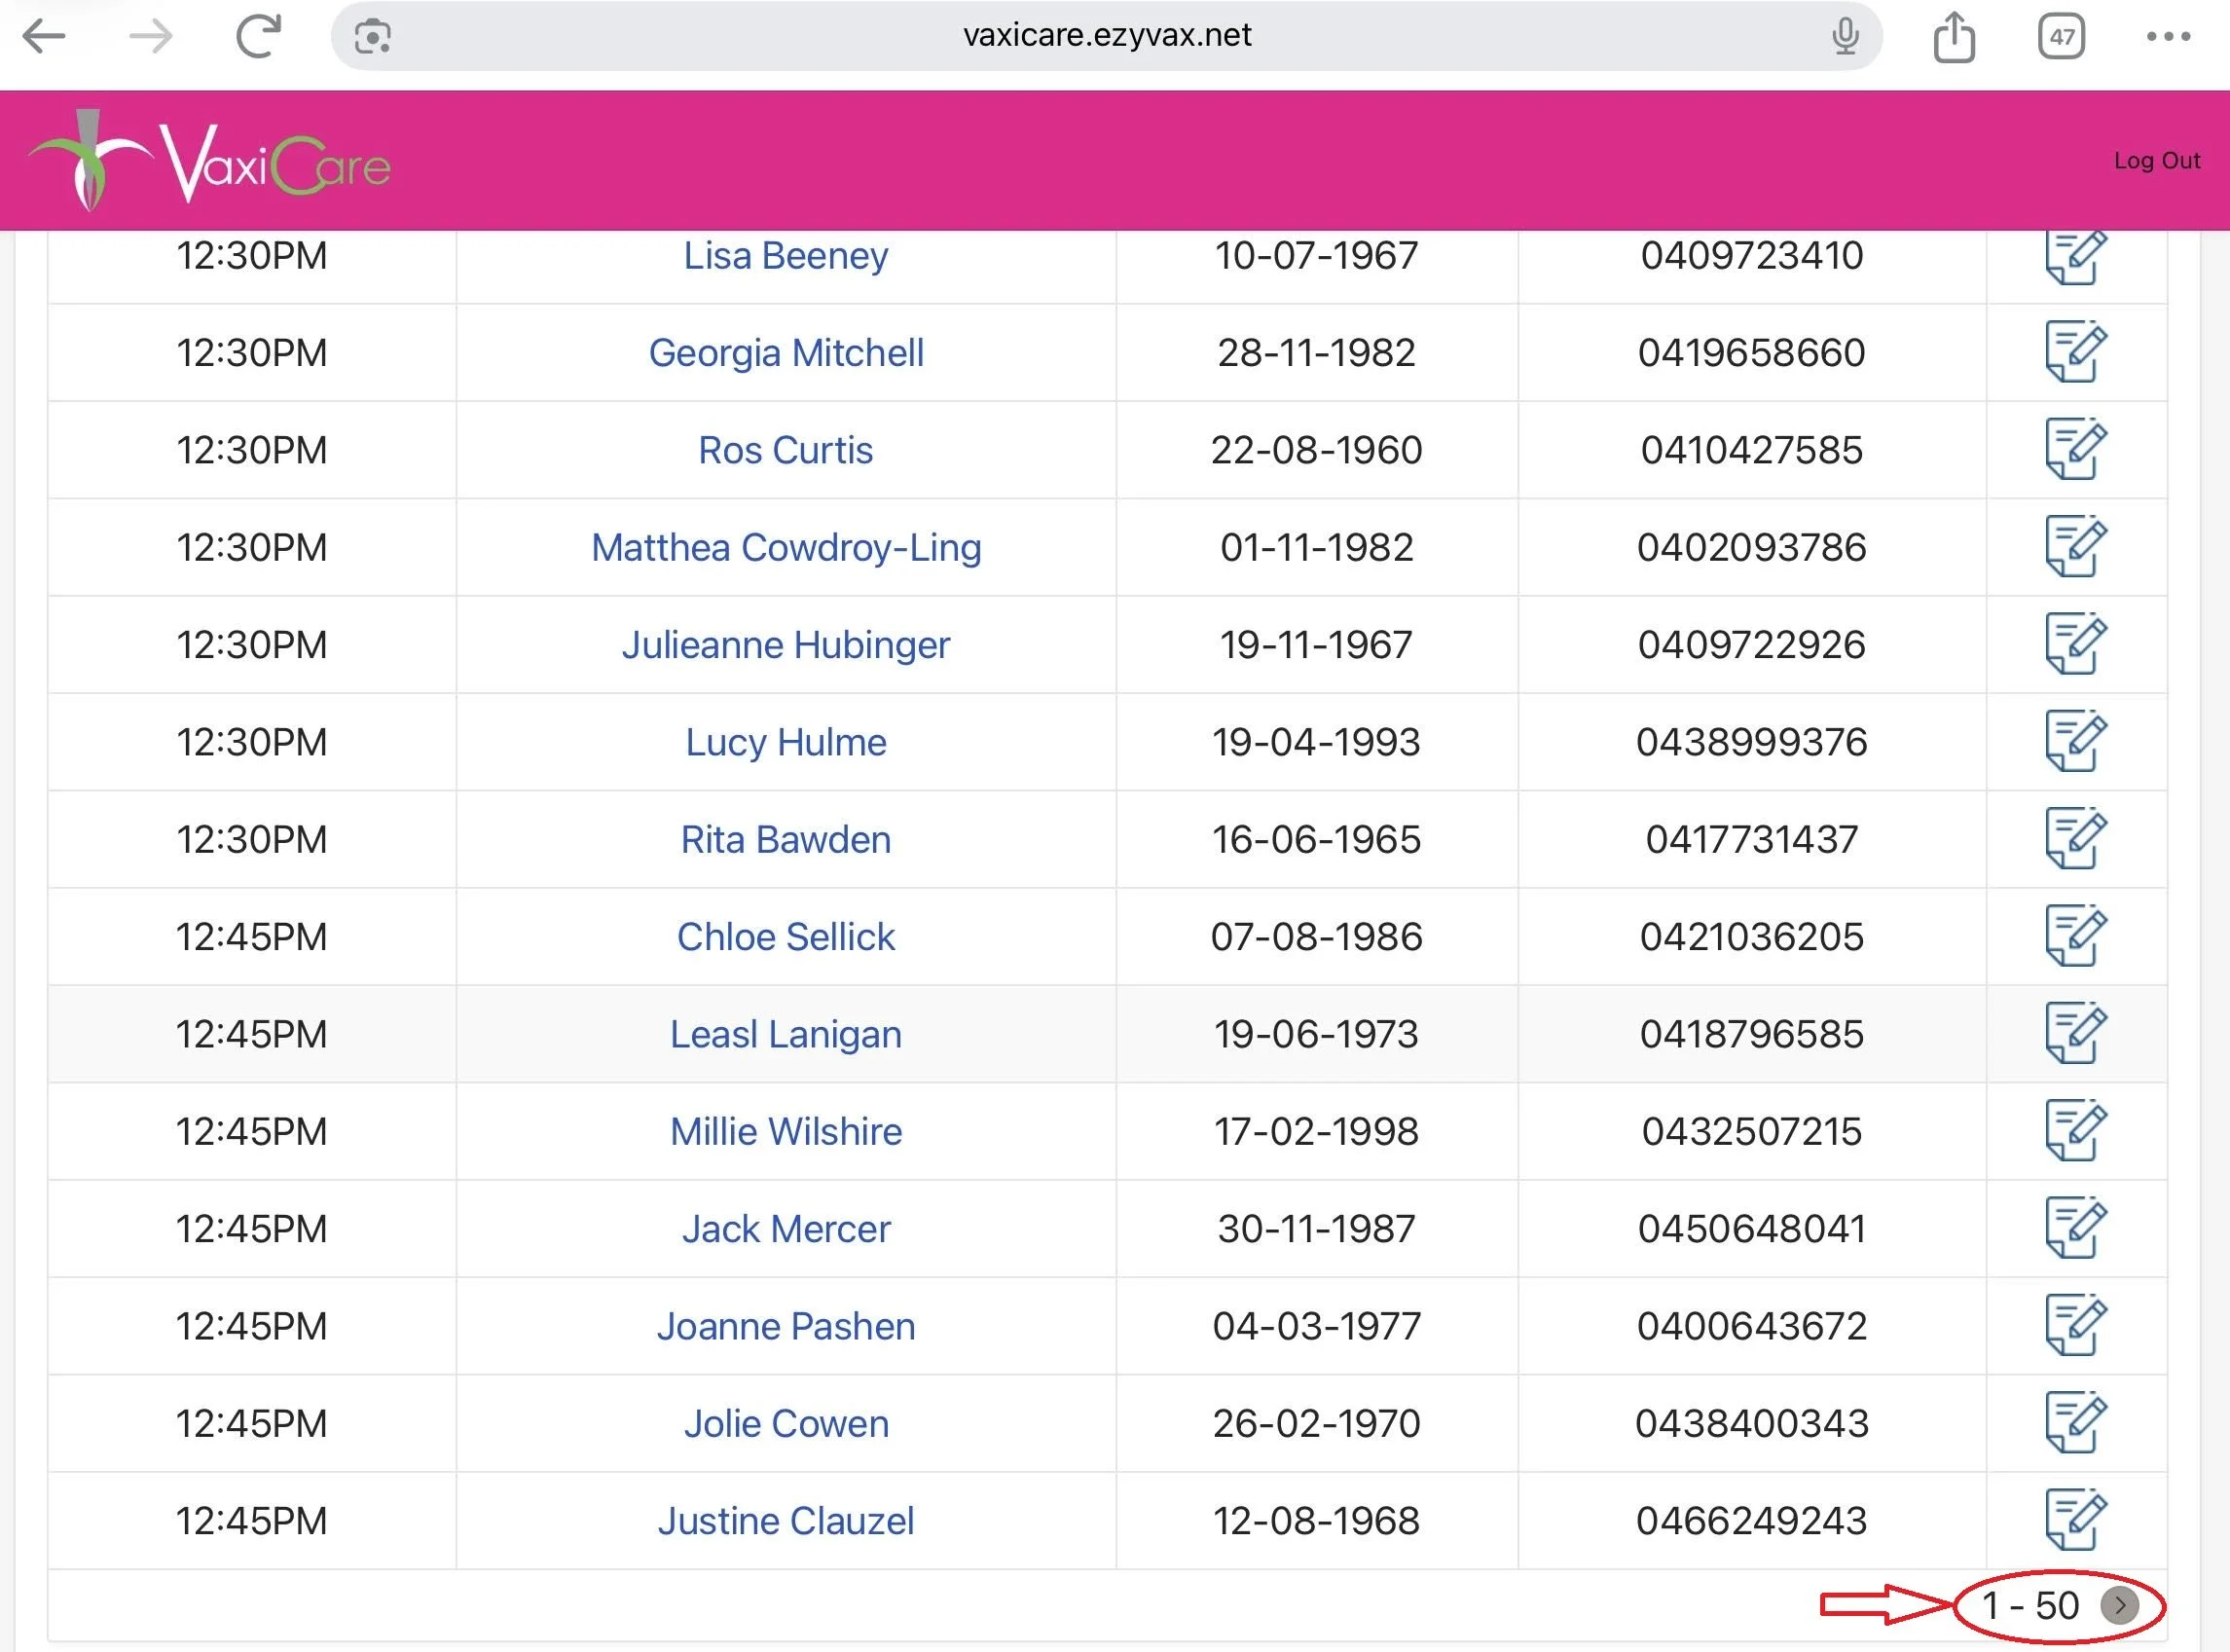
Managing Large Clinics & Walk-ins
Multiple Pages: If there are more than 50 bookings, they won't all show on one screen. Scroll to the bottom and click the circle next to the number 50 to flip to the next page.
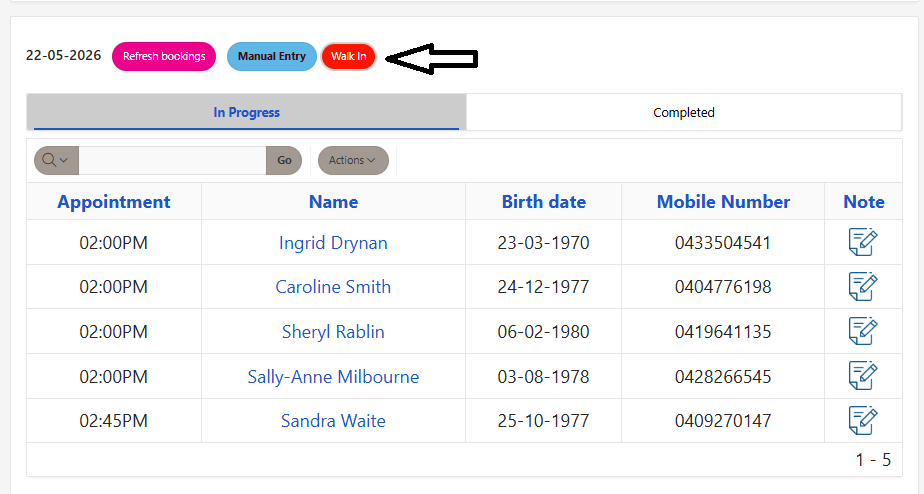
Walk-Ins on the day - use the WALK IN QR CODE:
If someone arrives without an appointment, have them SCAN the QR Code:
This is either printed out beforehand by the workplace and given to nurse to Blu TAC at the Clinic Room entrance OR
Select the the red WALK IN Button above the In Progress Tab, it will display the QR Code
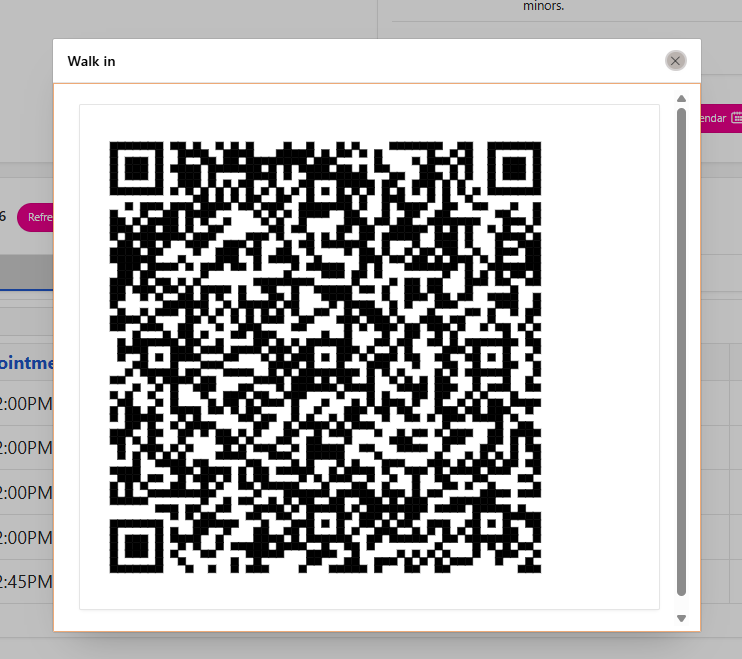
Then let the Walk-In Attendee SCAN the QR CODE. This lets them register on their own phone, saving you from manual data entry on Paper Consent forms.
NOTE: Ask the Attendee to sit nearby and complete their online booking while you continue to vaccinate other Attendees.
When the Walk-In has finished booking in, their new booking will appear under your In Progress Tab.
Identification Details for Medicare
Supply the Medicare Card Details and select the pink Book Now Button
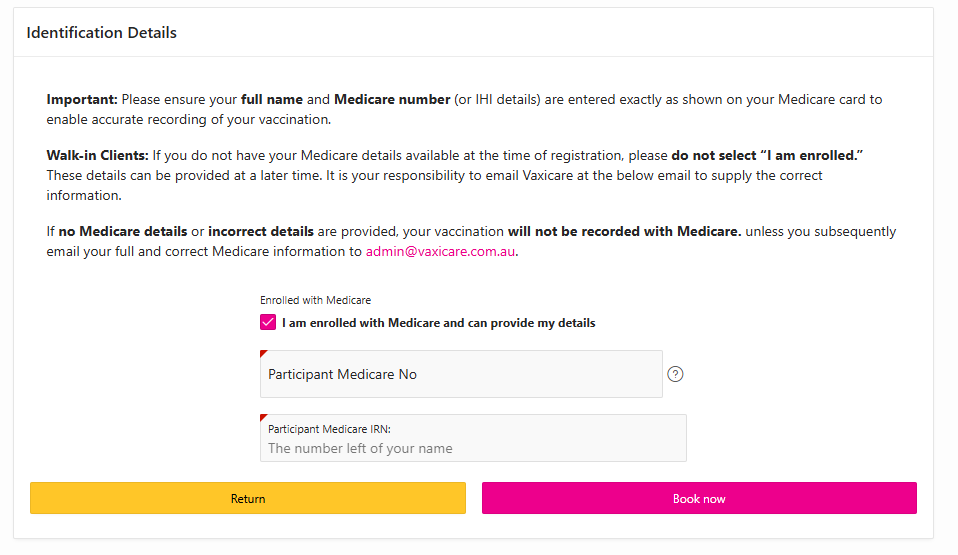
If not on Medicare
Untick the Enrolled with Medicare Box, a new screen requesting details will appear. Complete the details requested, ignore the request for an IHI Number. Private Health Care Details are not accepted. For Boarders, the School’s street address can be used. Select the Book Now Button

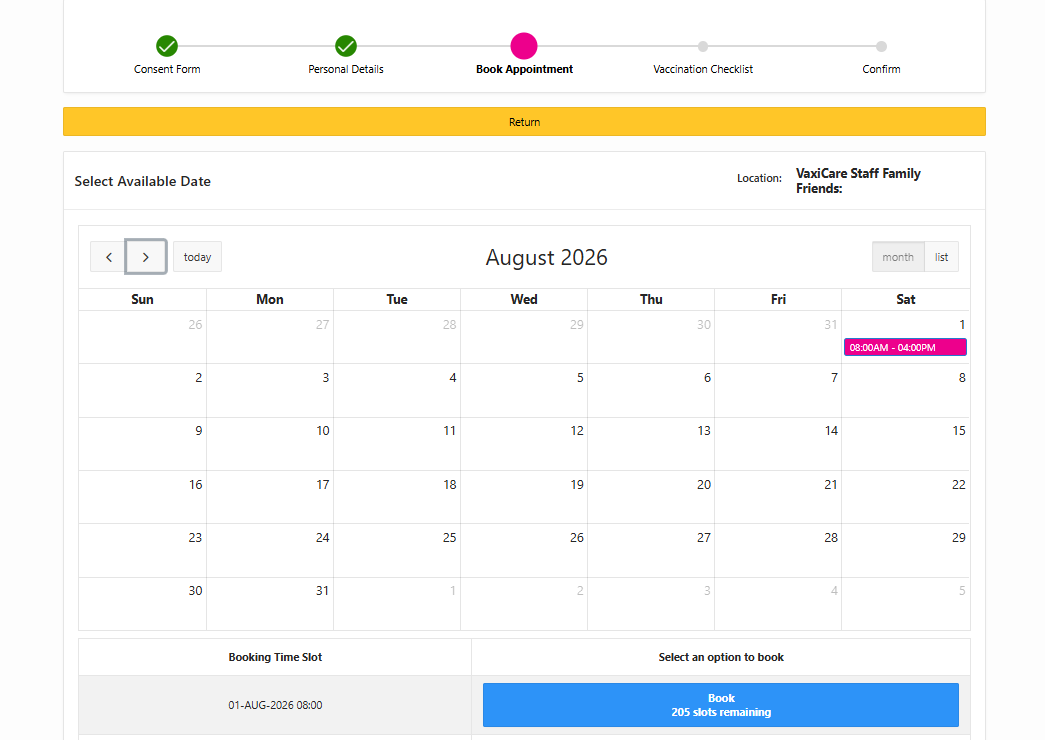
Book an Appointment
Select the Blue Button at the bottom to book an appointment Time for the Date shown on the Calendar, then Confirm the Booking.
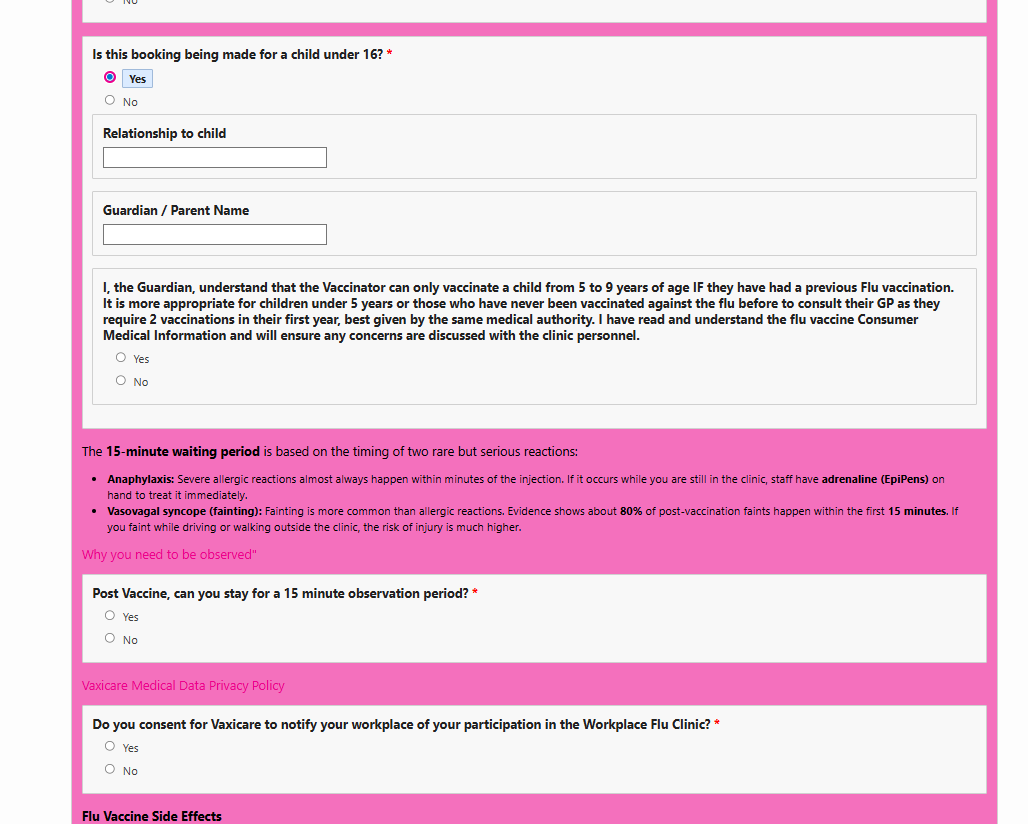
Complete the Checklist
Complete the Checklist on behalf of the Student, there are links that supply detailed information.
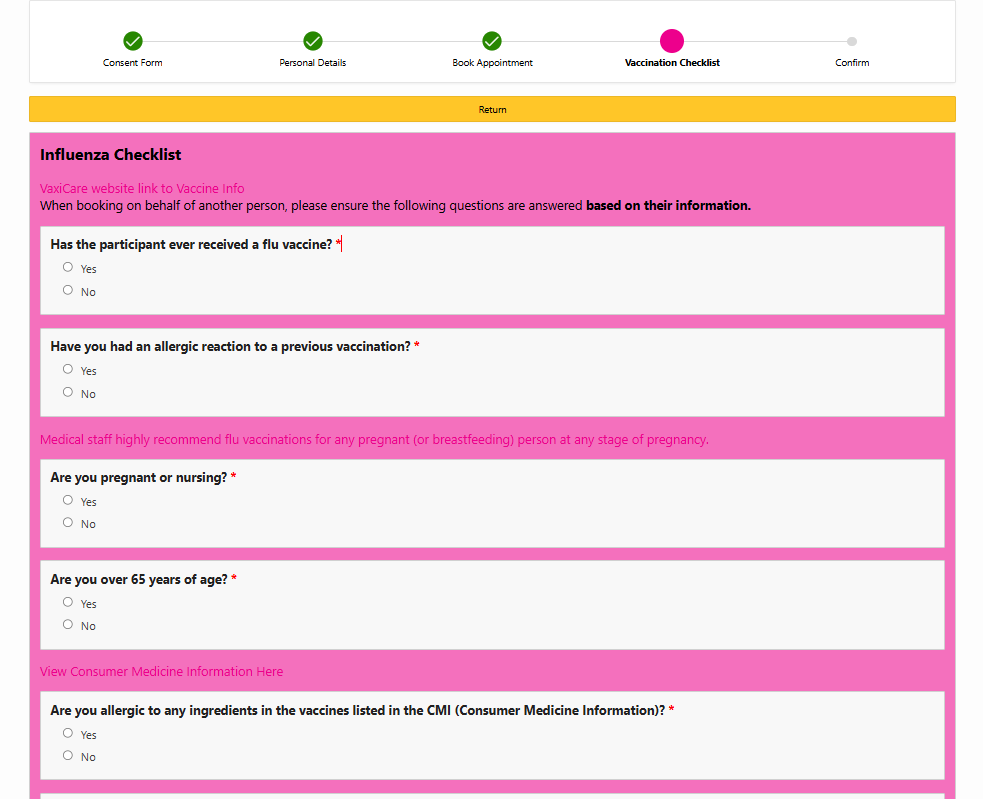
Grant Permission for Vaccination as the Guardian
Finalise the Checklist
Select the pink Save button at the bottom to complete the Checklist.
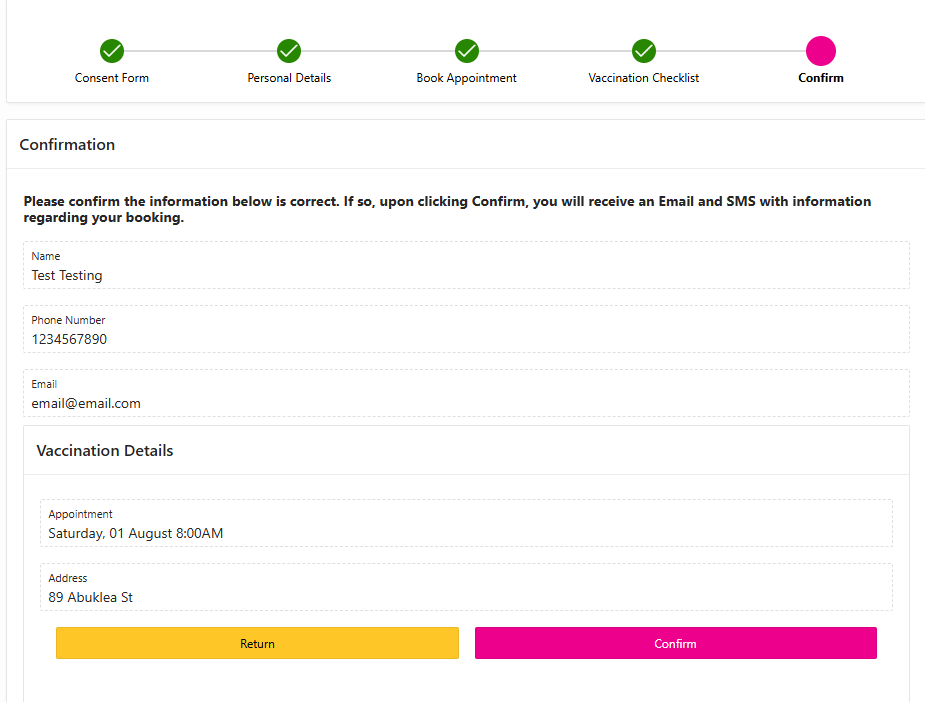
Confirm the Booking
Select the pink Confirm button at the bottom. An email and SMS will be sent to you as confirmation.